Building an engine for your Mini is a rewarding challenge that every DIY enthusiast dreams of. Whether you’re opting for a standard road motor or something more specialised, a successful engine build is an incredible achievement.
DIY Mini Engine Short Block

Why Consider a Rebuilt Engine?
Finding a reliable rebuilt Mini engine can be tricky. Many enthusiasts share stories of mixed results when purchasing engines from various sources. If you’re not confident in your engine-building skills, consider investing in a professionally rebuilt engine. Trustworthy suppliers like Mini Sport offer top-notch engine-building facilities, ensuring quality and reliability.
Always consult with the experts! If you're unsure, reach out to the Mini Sport team for technical advice on your engine build.
Building the Short Block: Step-by-Step
1. Preparing the Block
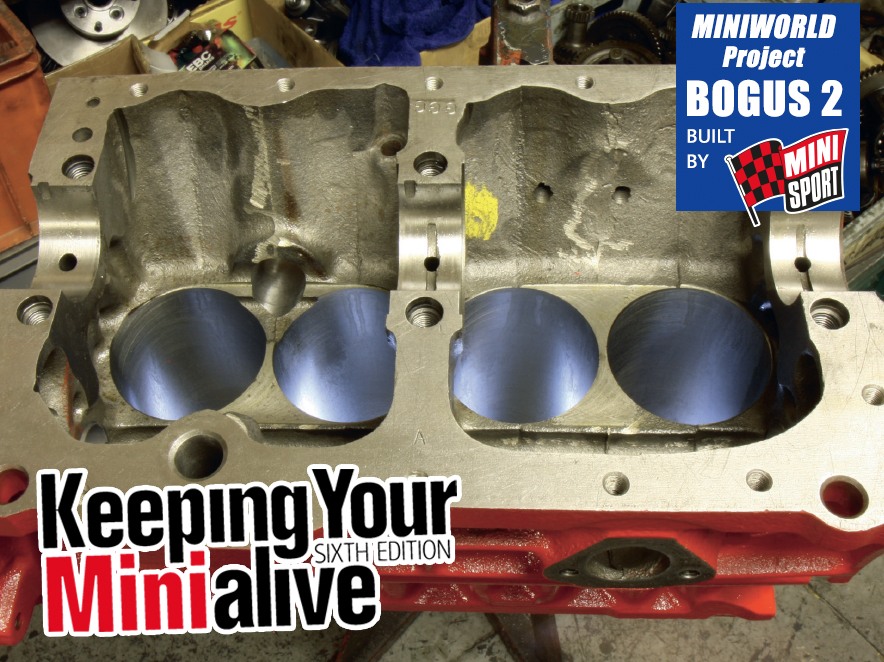
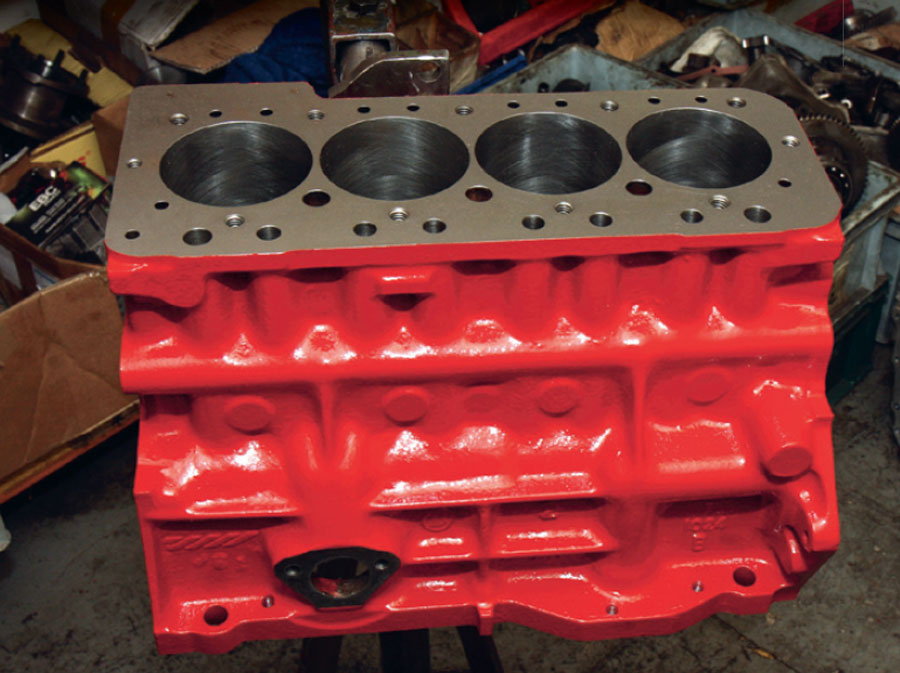
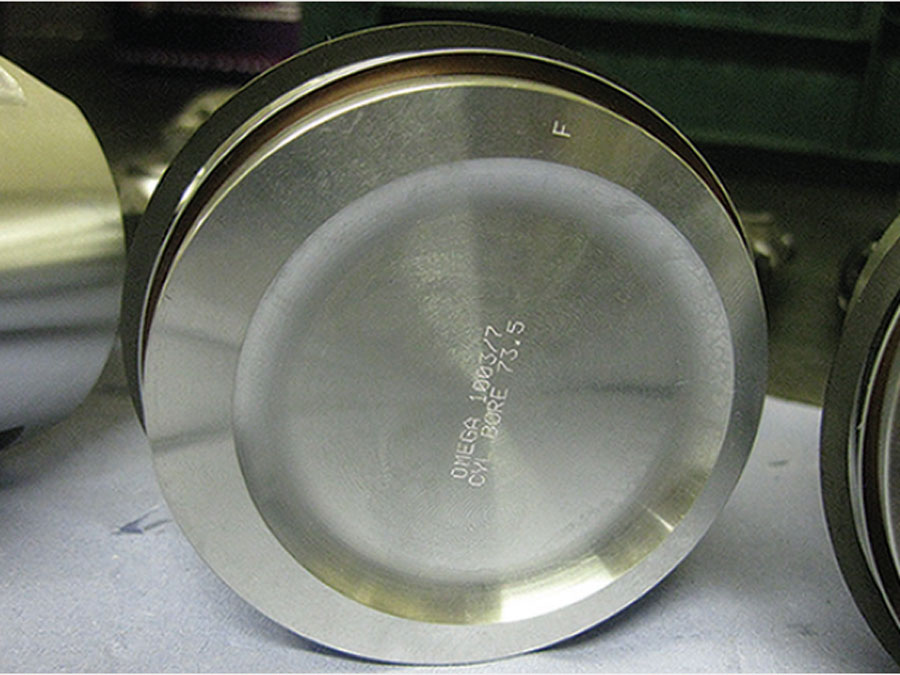
Shotblasting and Honing: The pre-injection A+ block has been shotblasted, honed, and faced in-house. We used an offset-bored to 73.5mm (1380cc) and will run an 11.5:1 compression ratio. We have also fitted new cam bearings and oil bungs, along with new core plugs using Loctite 641.
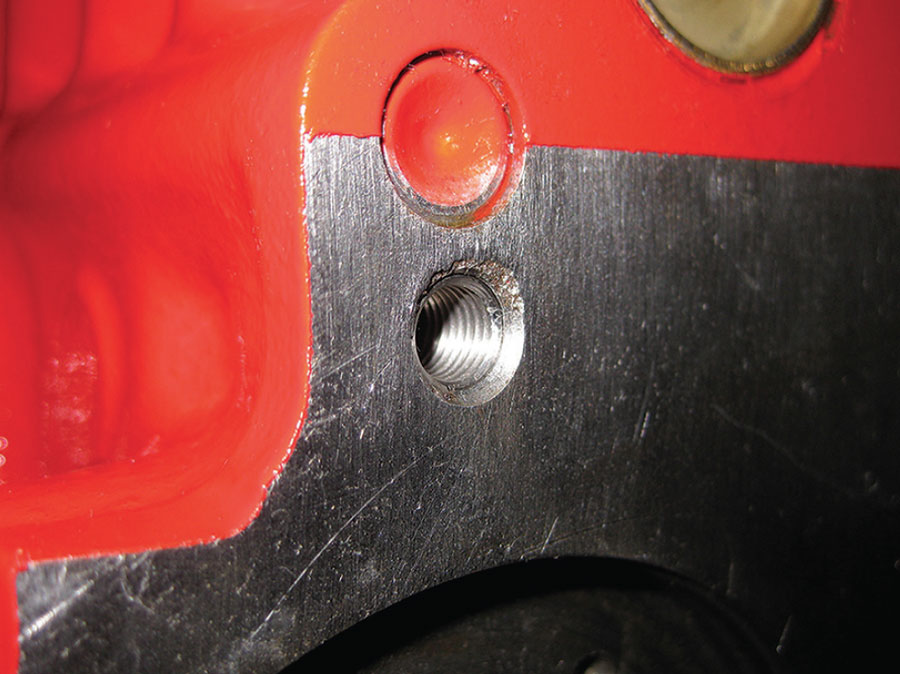
Thread: During the block check, two stripped threads were helicoiled. This led us to drill out the original thread, tap a larger thread, and insert a helicoil to return it to the original size

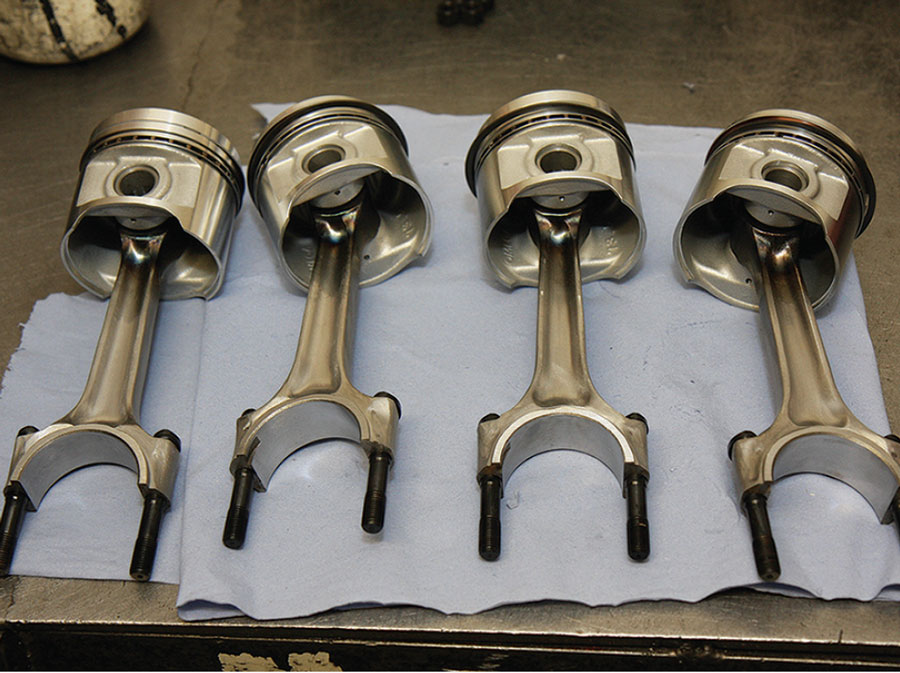
Piston Fitting: Omega forged offset 1380 pistons are used. The 7cc dish is offset to aid combustion. The gudgeon pins are press-fitted into balanced and polished conrods, with the small end heated prior to fitting to reduce stress on the piston. Shop our full range of Pistons for your classic Mini here >
Need Technical Help?
We're just a call or email away! Contact us for expert assistance with your Mini restoration.
3. Assembly Tips
Cleaning and Oiling: Clean the block thoroughly with brake cleaning fluid, oil the bores, and ensure the piston rings are oiled before installation.
Camshaft: Fit the cam followers and cam before the crank for easier access. A good sign that cam followers fit well is that they will fall into position under their own weight. Discover our full range of Engine Components >
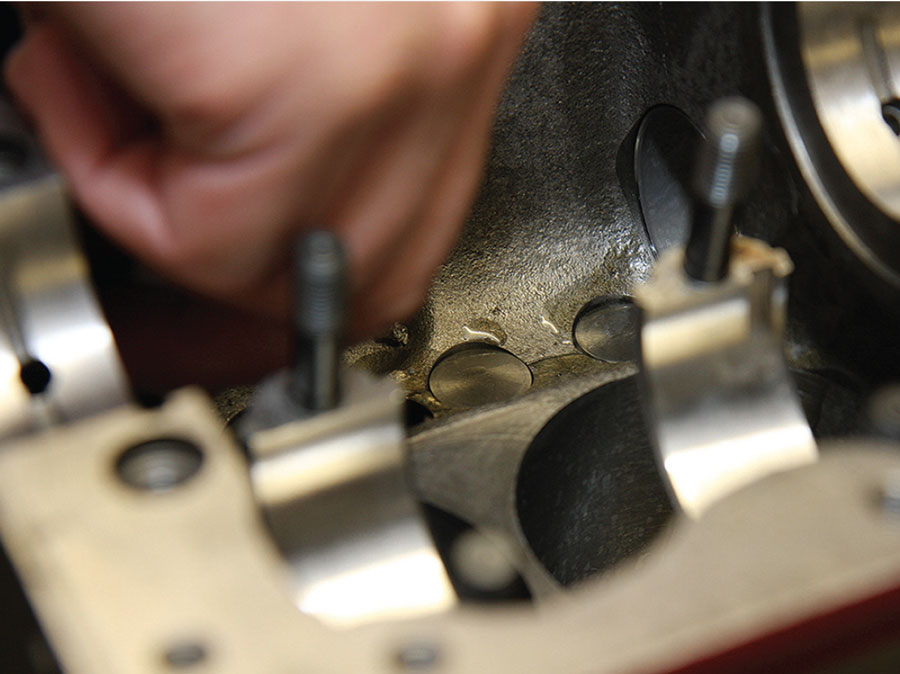
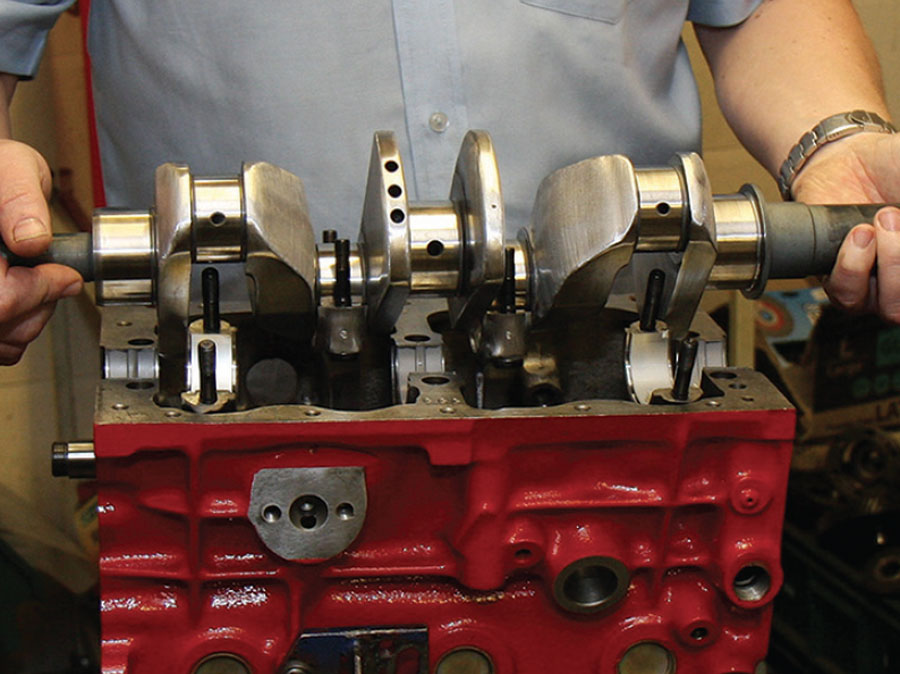
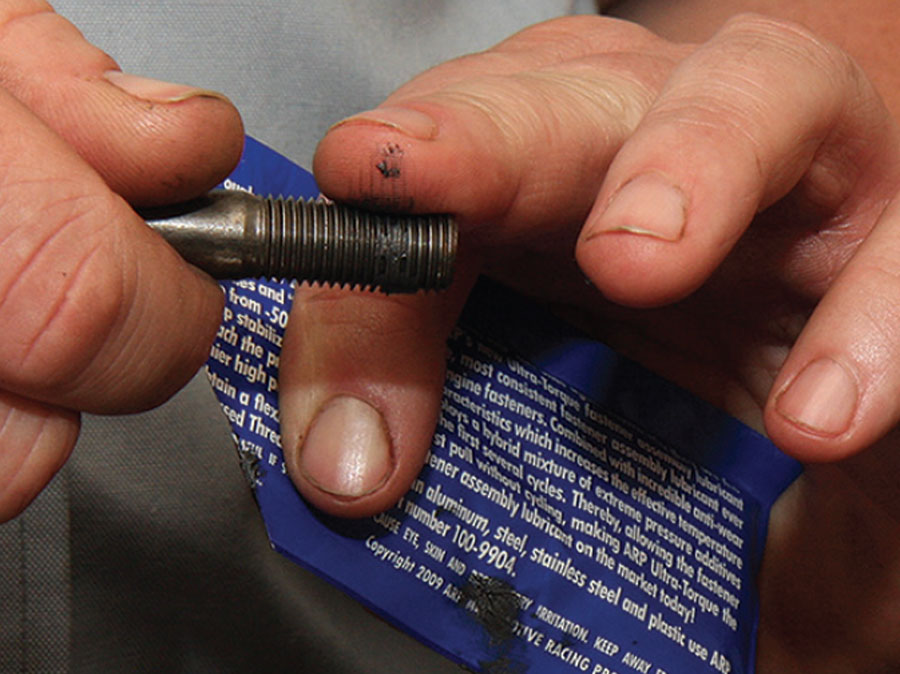
Installing the Crank: Lower the crank into position with the conrods for cylinders one and four resting to the front and two and three to the rear. The main and big end bearings being used have been matched to the crank during the dry build. Use moly grease on ARP conrod bolts and cap bolts to prevent binding and ensure correct torque values.
Need Help with Engine Parts?
Contact us to find the perfect components for your Mini engine rebuild. Or use our Easy Parts Finder to identify the Mini Parts you need!
4. Final Steps
Main Cap: Make sure you fit the main cap thrust washer round the correct way, if not it can bind to the crank causing damage. Fit the Mini Sport steel centre main bearing strap to reinforce the bearing cap and reduce crank flex at high RPM.
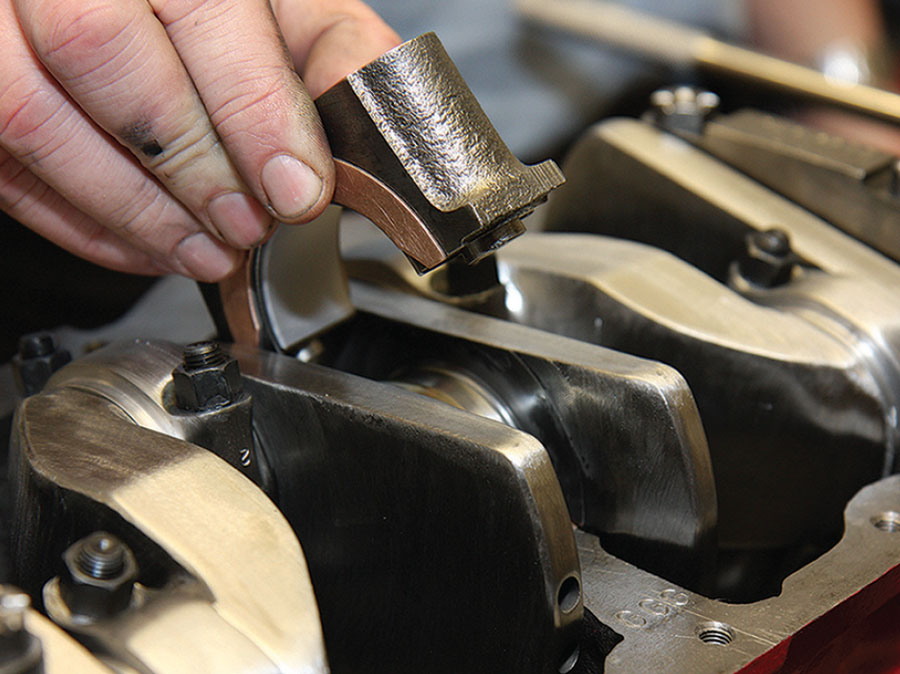
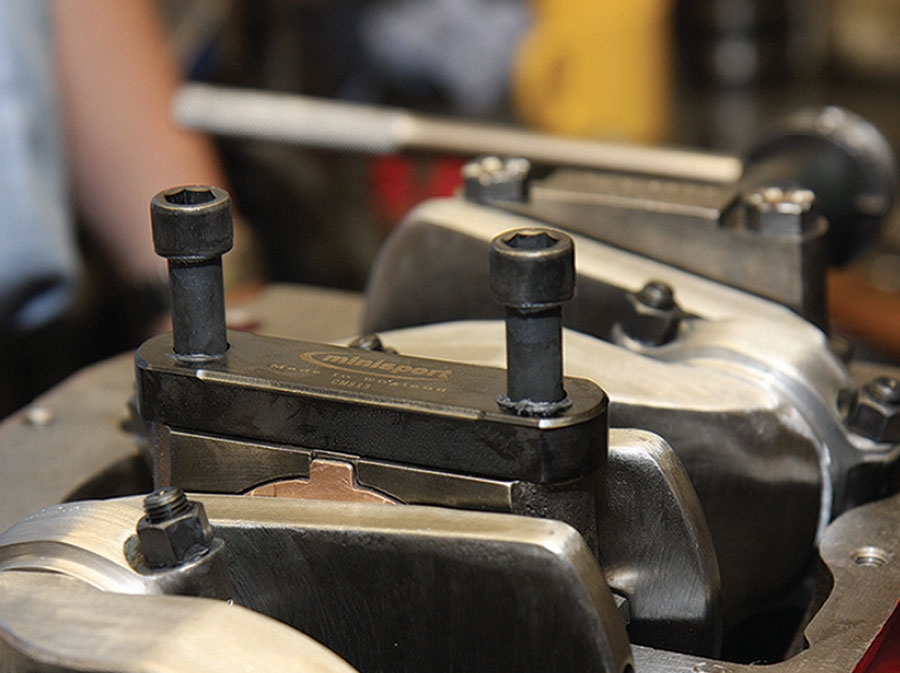
Torque: We torqued the main end caps to 65lbf/ft and big ends to 35lbf/ft. Once complete recheck and verify the crank can be turned. If not, slacken off the bolts and re-torque. If it will not turn smoothly then something is binding and all the bearings should be rechecked.
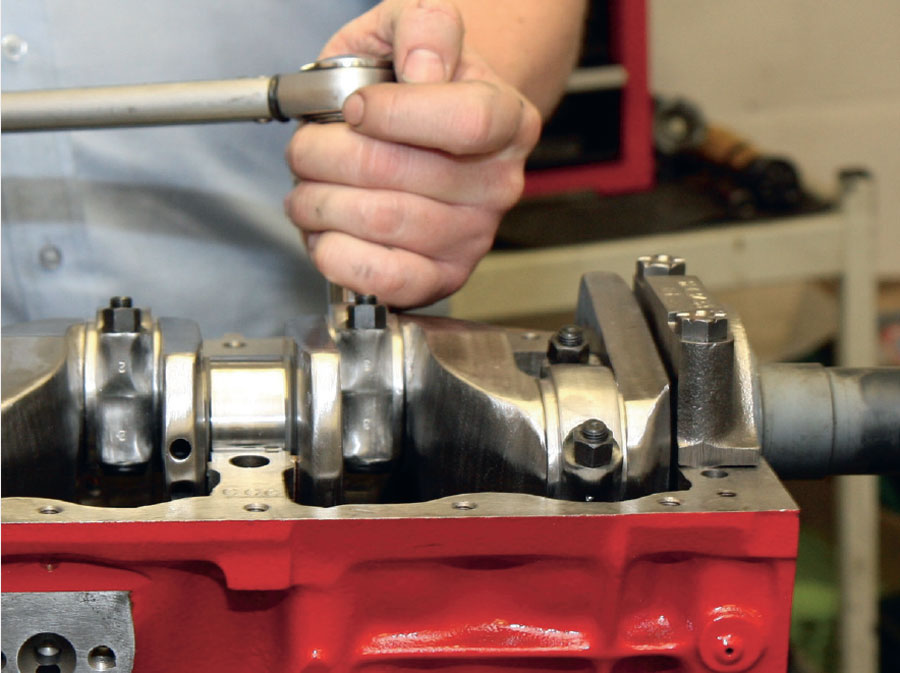
End Float Check: Ensure the crankshaft end float is within standard road car tolerances (0.003-0.005 inch for this engine).
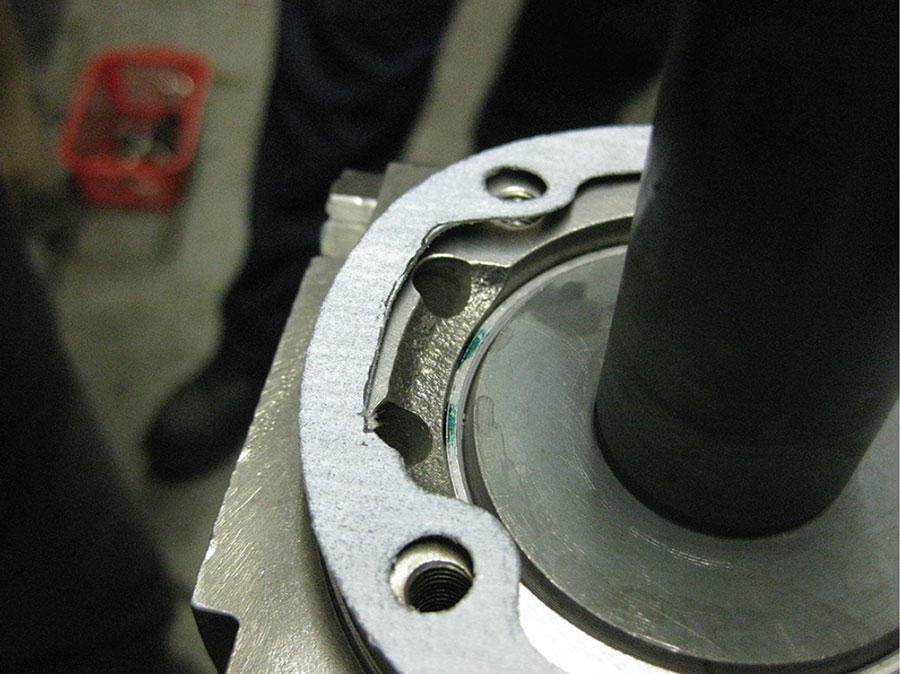
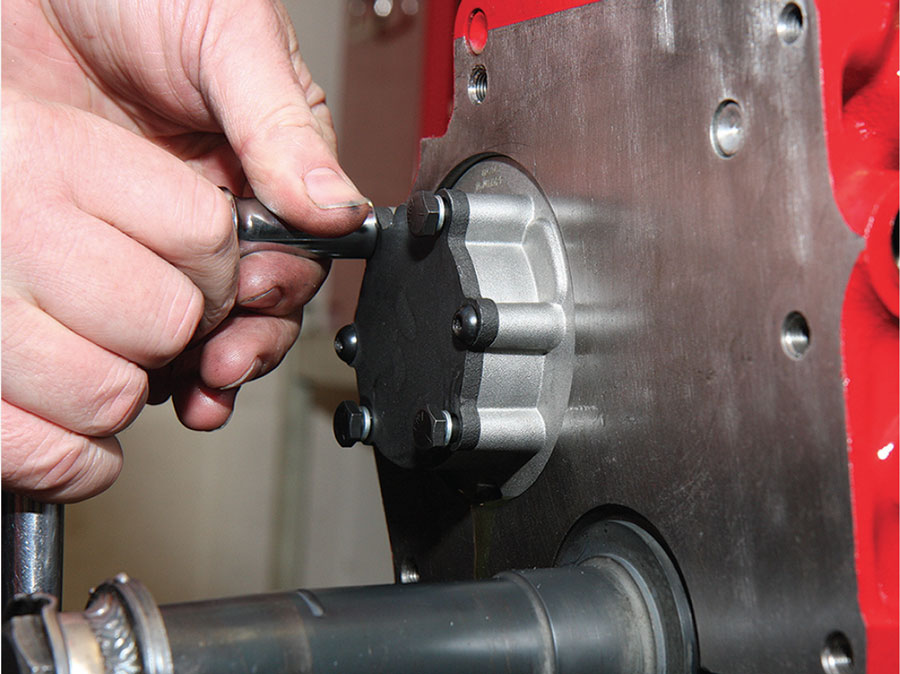
Oil Pump Preparation: Check and clean a new standard oil pump for burrs. Prepare the block to accept a four-bolt oil pump for stronger fixing. The gasket at the end of the block needs to be checked, we modified the gasket to ensure free flow to the oil drain holes.

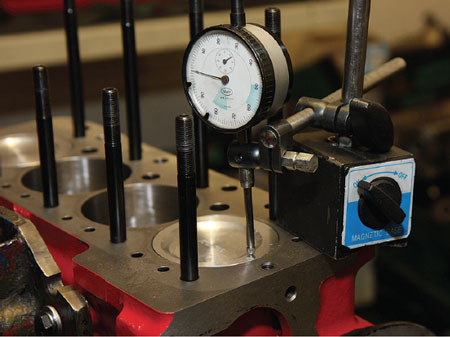
TDC Verification: Use a dial gauge to check Top Dead Centre (TDC) for accurate timing.
This is done with a dial gauge, magnetically mounted onto the block. Sometimes the TDC timing mark on the standard crank pulley can be wrong and, when it comes to timing, every degree counts towards getting the best power out of the engine.
Get Expert Help!
If you’re looking to tackle your Mini engine build but need guidance, don’t hesitate to contact the Mini Sport team for expert advice. We offer a wide range of products, from engine components to tuning solutions, to help you achieve the perfect setup.
Whether you’re a seasoned builder or just starting, remember: every engine build is a journey. Enjoy the process, and happy building!
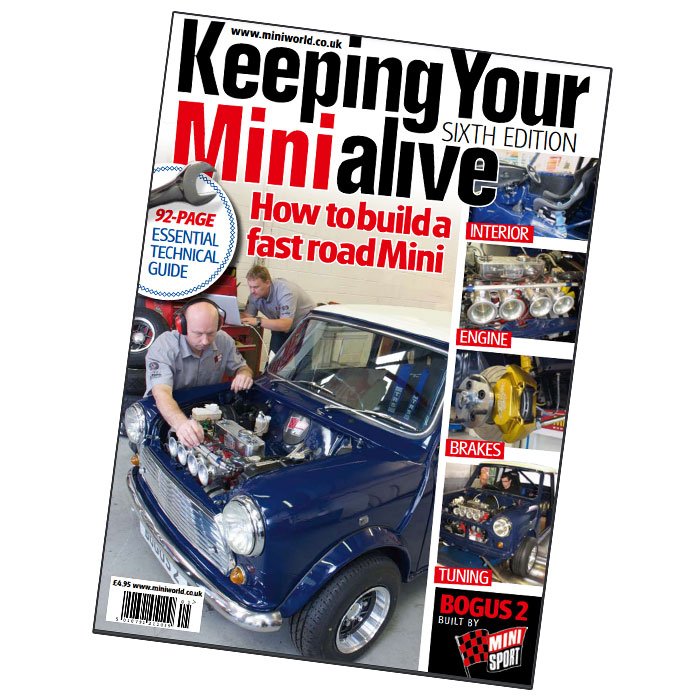
Want to read Keeping Your Mini Alive 6th Edition Magazine? Download the PDF here
Don't miss out on the rest of the Bogus 2 Series!
This blog series is your go to for a guide to taking your Mini from a bare shell to a road-worthy classic. Check out the rest of the series for tips and advice from our Mini Experts for every stage of your Mini restoration!
This guide is meant to provide general guidance and a step-by-step approach to restoring your Mini's Engine. It is always recommended to contact a trusted professional if you are unsure about any part of the process or lack the necessary tools and experience. Safety should be your top priority.
