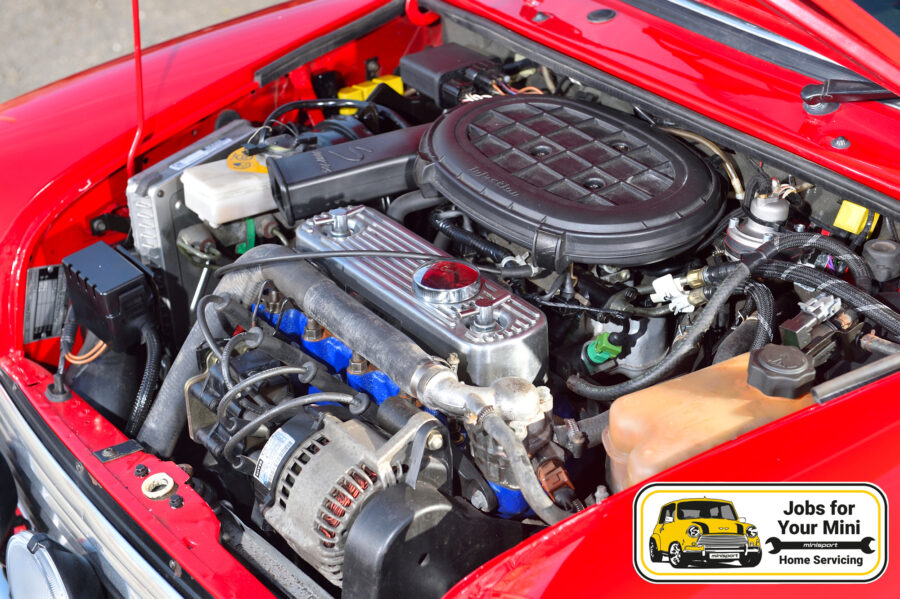
Your Mini's heartbeat is the subject of our 'Home Servicing' blog this week! That's right, it's time we look at your engine... Perhaps one of the most important (and expensive!) parts of your Mini, your engine needs to be in tip-top condition to avoid any serious damage to your Mini that could be costly to repair. Consequently, engine troubles can also cause accidents on the road putting yourselves and others at risk.
Below we will advise you on the basic things to check when servicing your Mini's engine & ignition along with the necessary tools for the job.
Equipment needed
- Assorted spanners and sockets
- Assorted screwdrivers
- Feeler gauges
- Tappet adjuster
- Spark plug socket
- Oil filter removal tool
- Pliers
- Latex gloves
- Safety spectacles
- Protective clothing
 Oil & Filter Change

Most importantly when servicing your Mini, we would recommend changing both the oil & filter as this helps improve fuel efficiency and ensures that you keep your car running reliably.
The Mini's engine oil deteriorates in time and high mileage, due to constant heating and cooling, it gets contaminated with oxidants and minute metal particles, the viscosity deteriorates with age & mileage also which can reduces the oil pressure, which is important for lubrication and protecting the bearings and pistons etc, regular oil changes reduce the build up of sludge in the oil galleries and the gearbox ( sump ) too.
Ideally run your Mini's engine for 15 minutes to warm your oil through before you attempt to drain it as warm oil will flow easier than when it is cold.
- Make sure you wear protective clothing and latex protective gloves to prevent getting the old contaminated oil on your skin
- Take care handling the oil and the filter as the oil will be hot!
- Drain the oil into a suitable container and dispose of it later at a specific disposal point – refit the sump plug with a new copper washer.
- Remove the oil filter and dispose of it together with the old oil, apply a sliver of grease to the oil seal on the new filter, fill the filter with new oil and fit the filter, the filter only needs to be hand tight.
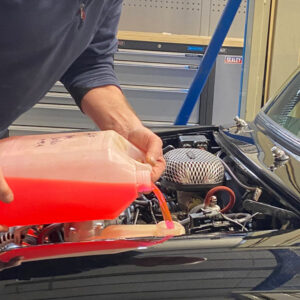
- Refill the engine with new oil 20/50 mineral oil (we recommend Millers Classic 20/50)
- Run the engine at idle speed only, to circulate the new oil around the oil galleries and engine components, check the oil level and check the sump plug and oil filter for leaks.
Fluid Levels
Key fluids in your Mini’s engine bay will need their levels checking – and topping up if they’re running low. These include:
- Windscreen washer fluid – top up with a mix of water and screen cleaning additive
- Engine Coolant - top up with a 50/50 mix of antifreeze/summer coolant and water
- Carburettor dashpot oil - top up as necessary with appropriate dashpot oil
- Brake fluid - top up using mineral based fluid, dot 3 or dot 4 – be careful not to spill fluid on paintwork as it will damage the paint
- Clutch fluid - top up using mineral based fluid, dot 3 or dot 4 – be careful not to spill fluid on paintwork as it will damage the paint.
In short, each of these fluids plays an important role in keeping your Mini functioning the way it should, keeping you safe when out and about!
Ignition Check
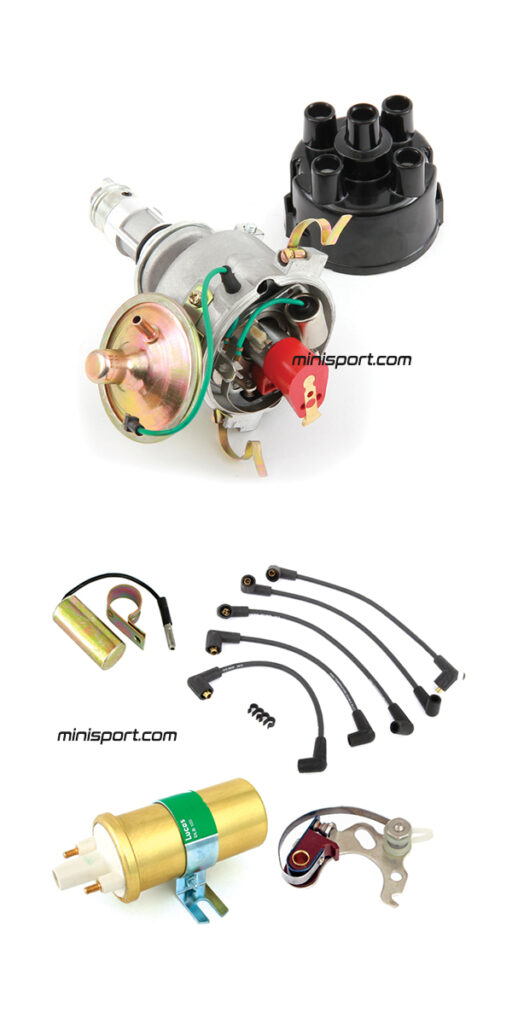
- Points & condensor (except electronic ignition and MPi) - check the condition of the contacts on the points adjust or replace as necessary using a screwdriver and feeler gauges set the contact gap at 0.016” or .4mm gap
- Rotor arm (except MPI) - check the condition of the blade for burns or damage replace as necessary
- Coil - check for cracks or leaks, check security of the electrical terminals
- Distributor cap (except MPi) - check for cracks, check the internal terminals for erosion – replace as necessary
- HT leads - check tightness in the cap and on the spark plug. Check the outer covering for cracks or damage, replace as necessary.
- Spark plugs - check the outer body of the plug for cracks or damage, check the electrodes for erosion or burns, replace as necessary. Inspect the colour of the electrodes – this is a good indication of the fuel air mixture and condition of the piston rings and valve guides :-
- pale or white colour - weak mixture
- sandy colour - correct mixture
- black colour (sooty) - rich mixture
- black colour (wet) - very rich mixture or possibly burning oil
- Set the plug gap at 0.025” for standard coil and points distributor
- Set the plug gap at 0.040” for high output coils or electronic ignition
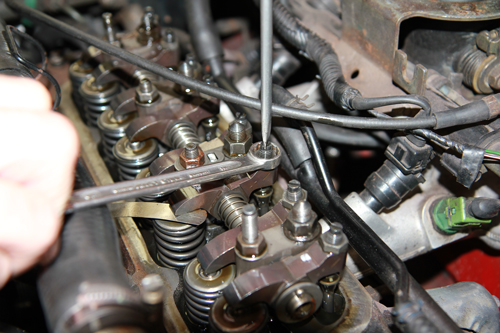
Valve Check
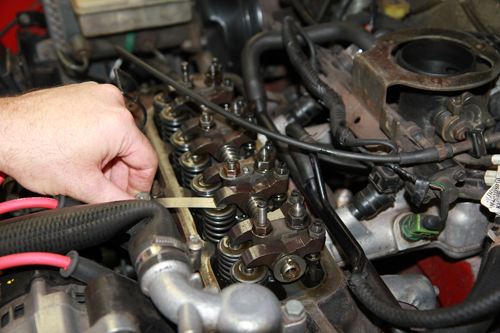
- When the engine is cold, remove the valve cover and the spark plugs – turn the engine over by hand until both valves are closed on no 1 cylinder, check the valve clearance using the correct feeler gauges (see below) adjust if necessary using a screwdriver and appropriate AF spanner
- Repeat this procedure for all 4 cylinders
- Replace the valve cover gasket use grease or a thin bead of silicon sealant to secure the gasket to the cover and refit the cover. Do not over tighten the screws or you will crush the cork gasket.
Valve clearances
- Standard engine and camshaft - 0.012” (0.3mm) inlet & exhaust
- Standard SPi and MPi – 0.013” (0.33mm) inlet & exhaust
- Performance cams & roller tipped rockers – 0.016” (0.4mm) inlet & exhaust
Other important things to check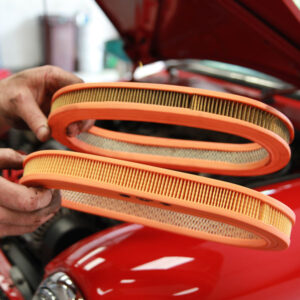
- Mini air filter - check cleanliness – replace as necessary
- Mini fan belt - check condition of the belt (damage or excessive wear) and correct tension, replace as necessary
- Mini rocker cover and cap – check for leaks and security
- Mini head gasket - visually check for any signs of leaking (water or oil)
- Mini cooling system - check radiator and cap for leaks. Check hoses for cracks or damage and leaks. Check water pump for noise and leaks.
- Mini mountings and bushes - check engine mounts and stabiliser bushes for damage or wear – replace as necessary
We hope that this blog can give you a little inspiration & advice on what to check when servicing your Mini's engine & ignition. Rest assured, our dedicated team is available Monday to Friday from 9am to 5pm, ready to assist you with any questions or provide the necessary support you may need. Don't hesitate to reach out to us—we're here to help!
What is your opinion?